Does a Chest Freezer Need a Drain? A Simple Guide

Understanding the Freezer Drain: What It Actually Does
Think of the drain as a little **escape route** for water. It’s a small, usually plastic, plug located at the bottom of your chest freezer. Its main job is to let you remove melted ice or cleaning water without a bucket brigade. Many users wonder if this part is essential. The short answer is: it’s incredibly helpful for maintenance, but not every single chest freezer comes with one. Let’s explore why.
Why Some Chest Freezers Have Drains and Others Don’t
The decision often comes down to size and intended use. **Larger chest freezers**, those with capacities over 15 cubic feet, almost always include a drain plug. Manufacturers know that melting that much ice manually is a huge task. Smaller, compact models may skip the drain to cut costs or simplify design. It’s a common feature on models meant for garages or basements where cleaning is a big concern.
The Manufacturer’s Perspective
From a design standpoint, adding a drain hole and plug involves extra steps. It requires molding the internal liner, sealing the hole properly, and including the plug component. For a budget-focused, small freezer, this detail might be omitted. However, for freezers marketed for heavy use, the drain is considered a **key convenience feature**.
Freezers With a Drain: The Clear Advantages
If you’ve ever tried to sponge out a chest freezer, you know it’s a wet, messy job. A built-in drain turns a major chore into a simple task. You can position a shallow pan, open the plug, and let gravity do the work. This design is especially valuable for defrosting.
Making Defrosting Less of a Chore
Even “frost-free” models can build up ice over time. For a standard freezer, defrosting is necessary for efficiency. A drain makes this process much cleaner. As the ice melts, the water flows out directly. This minimizes the risk of water damage to your floor and saves you from dozens of paper towels.
Beyond Defrosting: General Cleaning
You can’t just mop the inside of a freezer. Over time, spills happen. With a drain, you can safely wash down the interior with a mild cleaner and rinse it thoroughly. The water exits easily, allowing you to dry the space completely before turning it back on. This helps maintain **hygiene and prevent odors**.
Chest Freezers Without a Drain: Is It a Problem?
Not having a drain isn’t a deal-breaker, but it does change your maintenance routine. Smaller freezers are often manageable without one. Many users with compact models simply unplug, remove the food, and use towels and a sponge to soak up meltwater during defrosting. It requires more effort and planning.
Manual Water Removal Methods
For a freezer without a drain, you have a few options. Using a turkey baster or a small pump can suck up pooled water. Laying down old towels inside the freezer to absorb meltwater is another common trick. It’s a more hands-on process that requires your presence during the thaw.
Where These Models Fit Best
Freezers without drains are perfectly suitable for dorm rooms, small apartments, or as a **secondary freezer** for overflow items. If it holds a modest amount of food and isn’t in a high-moisture area, the lack of a drain is rarely a major issue. The key is knowing what you’re signing up for.
Installation and Setup Considerations for Drained Models
So, you’ve bought a chest freezer with a drain. Great! There are a few setup tips to ensure it works properly. First, check the owner’s manual for the exact location of the drain plug. It’s often inside, at the very bottom, sometimes under a protective grille.
Positioning Your Freezer for Easy Draining
This is a crucial step. You must place your chest freezer on a **level, hard surface**. A slight tilt toward the drain side can help water flow out completely. You need enough space in front of the drain to fit a collection pan. Never run the drain hose directly onto your floor or into a floor drain without a proper trap, as this can let in pests or odors.
The Essential Drain Hose Setup
Most drained freezers come with a short, flexible hose. You connect this to the external drain outlet and direct it into a bucket or a floor drain. Some owners opt for a slightly longer hose to reach a convenient spot. Ensure the hose is **securely attached** and not kinked, which would block the flow.
A Simple Comparison: Drained vs. Non-Drained Freezers
Choosing between models can be easier with a side-by-side look. Here’s a breakdown of what to expect from each type.
| Feature | Chest Freezer WITH Drain | Chest Freezer WITHOUT Drain |
|---|---|---|
| Best For | Large capacity, garages, basements | Small spaces, secondary use |
| Defrosting | Effortless, hands-off water removal | Manual: towels, sponges, pumps |
| Cleaning | Easy to rinse and drain interior | Limited to sponge-down methods |
| Installation | Requires planning for hose/bucket placement | Simple, place and plug in |
| Typical Price | Slightly higher cost | Often more budget-friendly |
When Should You Prioritize a Freezer With a Drain?
You might absolutely need a drain if a few key conditions apply to your situation. Ask yourself if any of the following describe you. If they do, hunting for a model with this feature is worth the effort.
- You live in a **humid climate** where frost builds up quickly.
- The freezer will be in a finished room where water spills are a major concern.
- You plan to store very large items, like a whole deer, requiring thorough post-processing cleaning.
- You have mobility or back issues that make bending over to sponge out a freezer difficult.
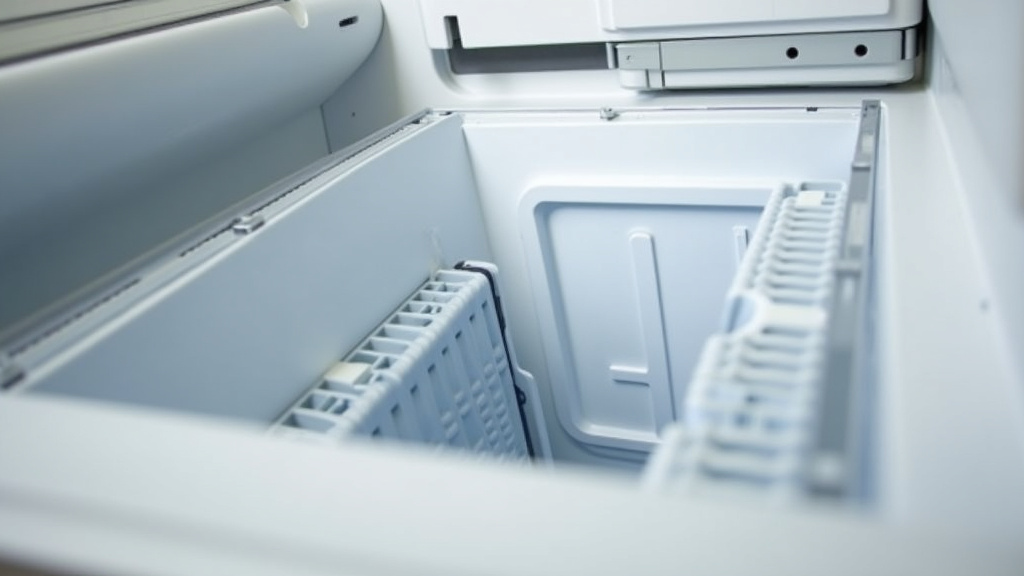
How to Defrost and Clean a Freezer Without a Drain
No drain? No problem. Just follow a methodical plan. The goal is to control the water. Start by planning for a few hours. Remove all food and store it in coolers with ice packs.
A Step-by-Step Water Management Strategy
First, unplug the freezer and prop the lid open. Lay a thick layer of **old towels or absorbent pads** on the bottom. Place a rimmed baking sheet or shallow plastic container inside to catch drips. As ice melts, wring out towels into a sink and replace them. A wet/dry vacuum can speed things up significantly.
The Final Clean and Dry
Once all ice is gone, wash the interior with a solution of two tablespoons baking soda per quart of warm water. Rinse with a clean, damp cloth. Now, the most important step: **dry the interior completely** with towels. Any leftover moisture will turn into frost immediately. You can place a fan nearby to circulate air and speed up drying.
Long-Term Maintenance Tips for Your Freezer Drain
If you have a drain, a little care keeps it working well. Before each defrosting session, check that the drain hole isn’t blocked by food debris or ice. A pipe cleaner or the small brush that came with your freezer can clear it. Always ensure the **drain plug is securely tightened** after cleaning to prevent cold air loss.
Preventing Clogs and Odors
To avoid smells, consider placing an open box of baking soda inside the freezer regularly. When draining meltwater, adding a cup of vinegar to the water can help clean the drain tube itself. Make sure the external end of the drain hose stays clean and unobstructed.
Final Verdict: Do You Need That Drain?
The importance of a chest freezer drain truly depends on your usage. For a large freezer in a home, a drain is a fantastic convenience that simplifies a tough job. For a small, compact unit used occasionally, its absence is manageable. Your choice should align with how you plan to use and maintain the appliance.
Quick Decision Checklist
Use this list to guide your final decision when shopping.
- Consider a drain if your freezer capacity is over 15 cubic feet.
- Prioritize a drain if you will place it on a finished floor or near valuables.
- Think about a drain if you defrost more than once a year.
- You can skip the drain if you have a very small, under-counter model.
- A drain is optional if you have a garage or utility room with a concrete floor.
- Always check the manual for specific defrosting and cleaning instructions.
Conclusion
So, does a chest freezer need a drain? It really comes down to your situation. A drain makes defrosting and cleaning much easier, especially for large freezers. If you have a small unit in a utility room, you can manage without one. But for bigger models or finished spaces, a drain is worth every penny. We hope this guide helped you feel confident about your choice. Your next step is simple: check your current freezer’s model number. Look up whether it has a drain plug. Then decide if it’s time to upgrade or if your setup is good as is.
Frequently Asked Questions
Can I add a drain to a chest freezer that doesn’t have one?
Technically, some people drill a hole and install a drain fitting, but it’s risky. You could damage the liner or compromise the freezer’s seal. We found that most manufacturers strongly advise against this. It’s usually better to buy a model with a drain built in.
Where is the drain plug located on a chest freezer?
The drain plug is typically found at the bottom interior of the freezer. On most models, it sits behind a small grille or near the front edge. Check your owner’s manual for the exact spot. Some freezers also have an external drain outlet on the outside back panel.
How often should I defrost my chest freezer?
You should defrost when frost buildup reaches about a quarter-inch thick. For most people, that’s once or twice a year. If you live in a humid area, you might need to defrost more often. Keeping the lid closed tightly helps reduce frost between sessions.
Is a chest freezer without a drain harder to clean?
It can be, but it’s not impossible. You’ll need to use towels, sponges, and possibly a wet/dry vacuum to manage water. We recommend laying down absorbent pads before defrosting to catch meltwater. A little extra planning goes a long way with these models.
Can I use a hose to connect my freezer drain to a floor drain?
Yes, many owners connect a short hose from the drain outlet to a floor drain. Make sure the hose is securely attached and not kinked. We found that adding a simple trap or screen helps keep pests and odors out. Always check your manual for the recommended setup.